Create Project
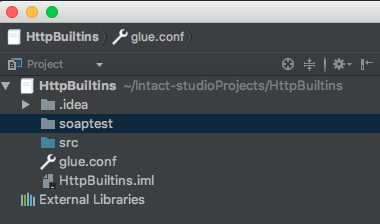
Open intaQt Studio and check the connection status widget at the bottom-right corner to confirm that intaQt started and that intaQt Studio was able to connect to it:

1. Create Directories
Create a new intaQt project, Select File -> New -> Project...:
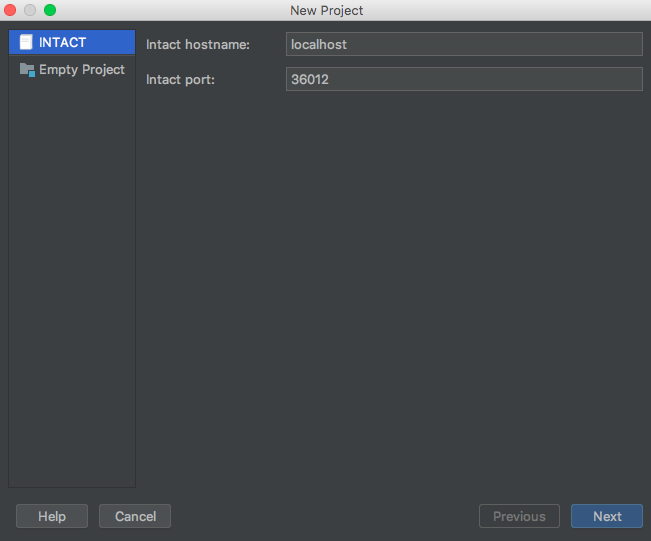
Select intaQt and click the Next button.
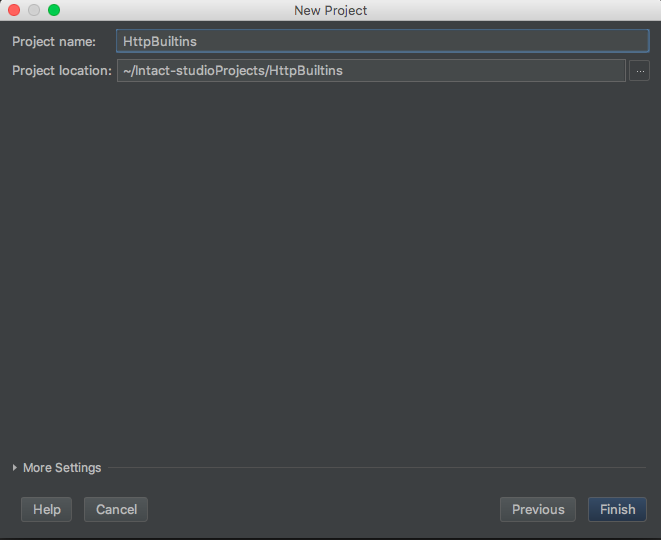
Give your project a name:
2. Create a Glue Path
| Note |
|---|
If you already have one configured in your server.conf, you can skip this step. |
Create a Glue path by right-clicking on your project name, which is on the left-hand side of the window.
Select New -> File. Name the file Glue.conf and paste the following:
1 2 3 | Glue { path = ["steps"] } |
This configuration tells intaQt where Steps files will be loated.
3. Create Directories and Configurations
Create a folder called steps directly in the project.
Right click on the project name -> New -> Directory, and write the Steps:
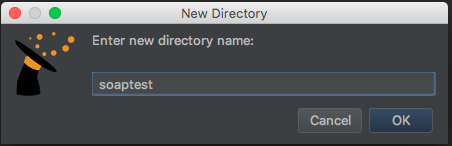
Click on OK, and it should result in: