Managing Extractor Files
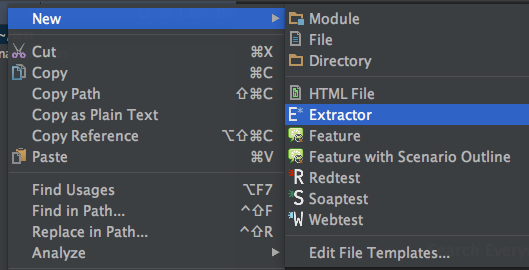
To create a new Extractor file, right-click on a project in the Project Window -> New -> Extractor:
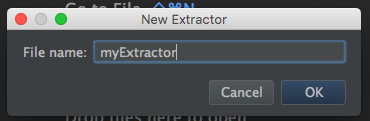
Assign a name then click OK. The file will be assigned an .extractor extension.
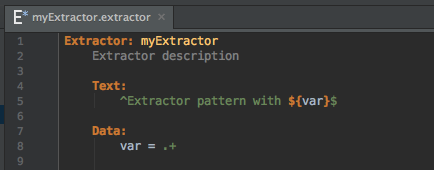
The Test Case Editor Window will be populated with an Extractor template:
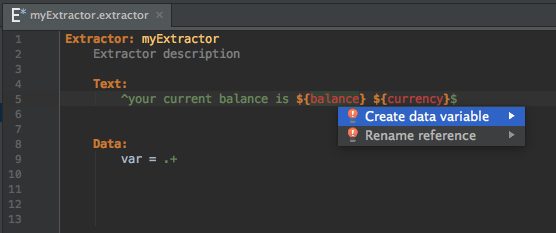
Enter the Extractor text, then double click on the variable (indicated by ${<text>}) and press alt + enter(Windows/Linux User) option + enter(Mac OS User). This brings up the options to create a data variable or rename that reference:
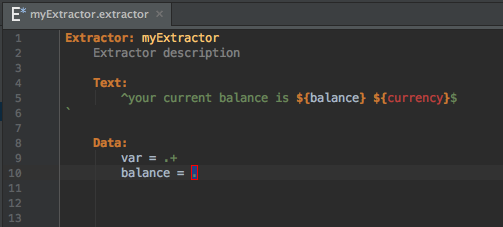
Selecting Create data variable will add an additional variable line to the Extractor's Data section :
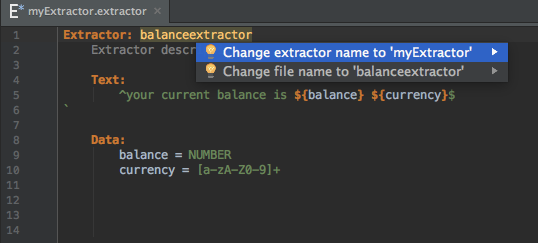
Renaming Extractor/File names
If the name assigned to the Extractor in the Test Case Editor Window does not match its file name, a warning that Extractor name does not match file name will appear.
Double clicking on the Extractor name in the Test Case Editor Window and pressing alt + enter(Windows/Linux User) option + enter(Mac OS User) will bring up the choices to change the Extractor name or the file name: