intaQt Verifier UI
The intaQt Verifier UI is used for creating and executing offline verification test cases. The Verifier UI contains the following components:
-
Menu bar at the top.
-
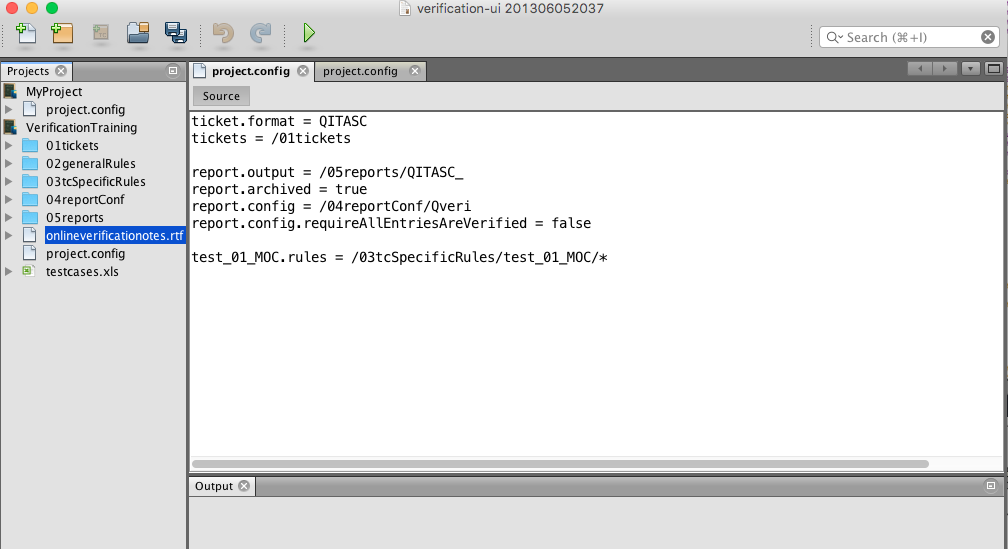
Project window on the left, which contains a list of folders and files used by the project. Files recognized by the Verifier UI include the
project.config,.rulesfiles and.CSVfiles.- Double-clicking on a file will display it in the test case editor window.
-
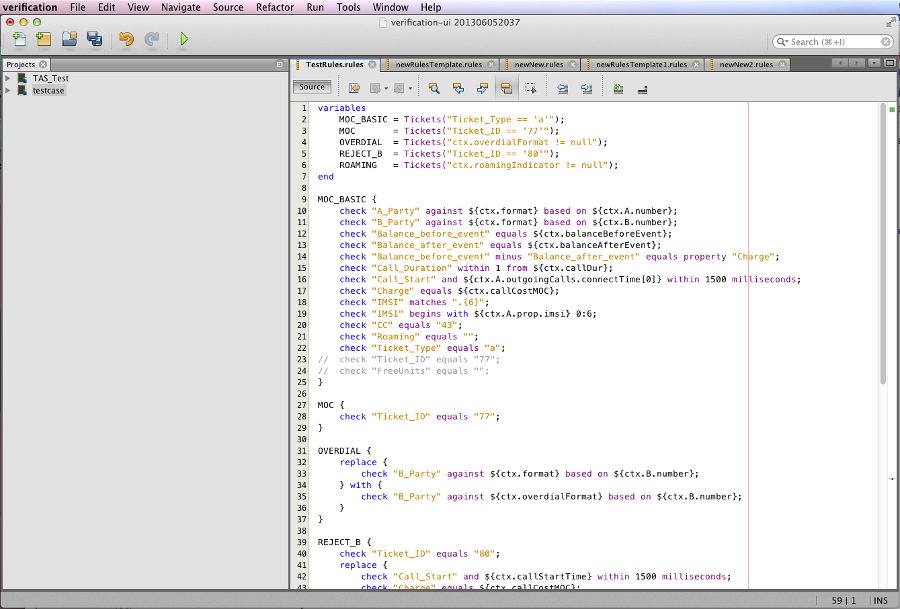
Test case editor window on the right, which is used to edit files such as rules files and configuration files.
-
Output window at the bottom, which shows the test case results.
The test case editor window displays open files, such as a rules file or the project.config. These can be navigated by clicking the tabs at the top.
Rules File Example
project.Config Example
Menu Bar Symbols
The following icons appear in the menu bar. Certain ones may appear gray if they are not currently applicable.
![]() - New file
- New file
![]() - New project
- New project
 - Adds a new test case the project.
![]() - Open existing project
- Open existing project
![]() - Save changed files
- Save changed files
![]() - Undo unsaved changes
- Undo unsaved changes
![]() - Redo
- Redo
![]() - Runs the entire project in its most recently saved state.
- Runs the entire project in its most recently saved state.
Creating a New Project
To create a new verification project, click the new project icon from the menu bar, or select New Project from the File menu.
Next, select Verification Project from the list of available projects:
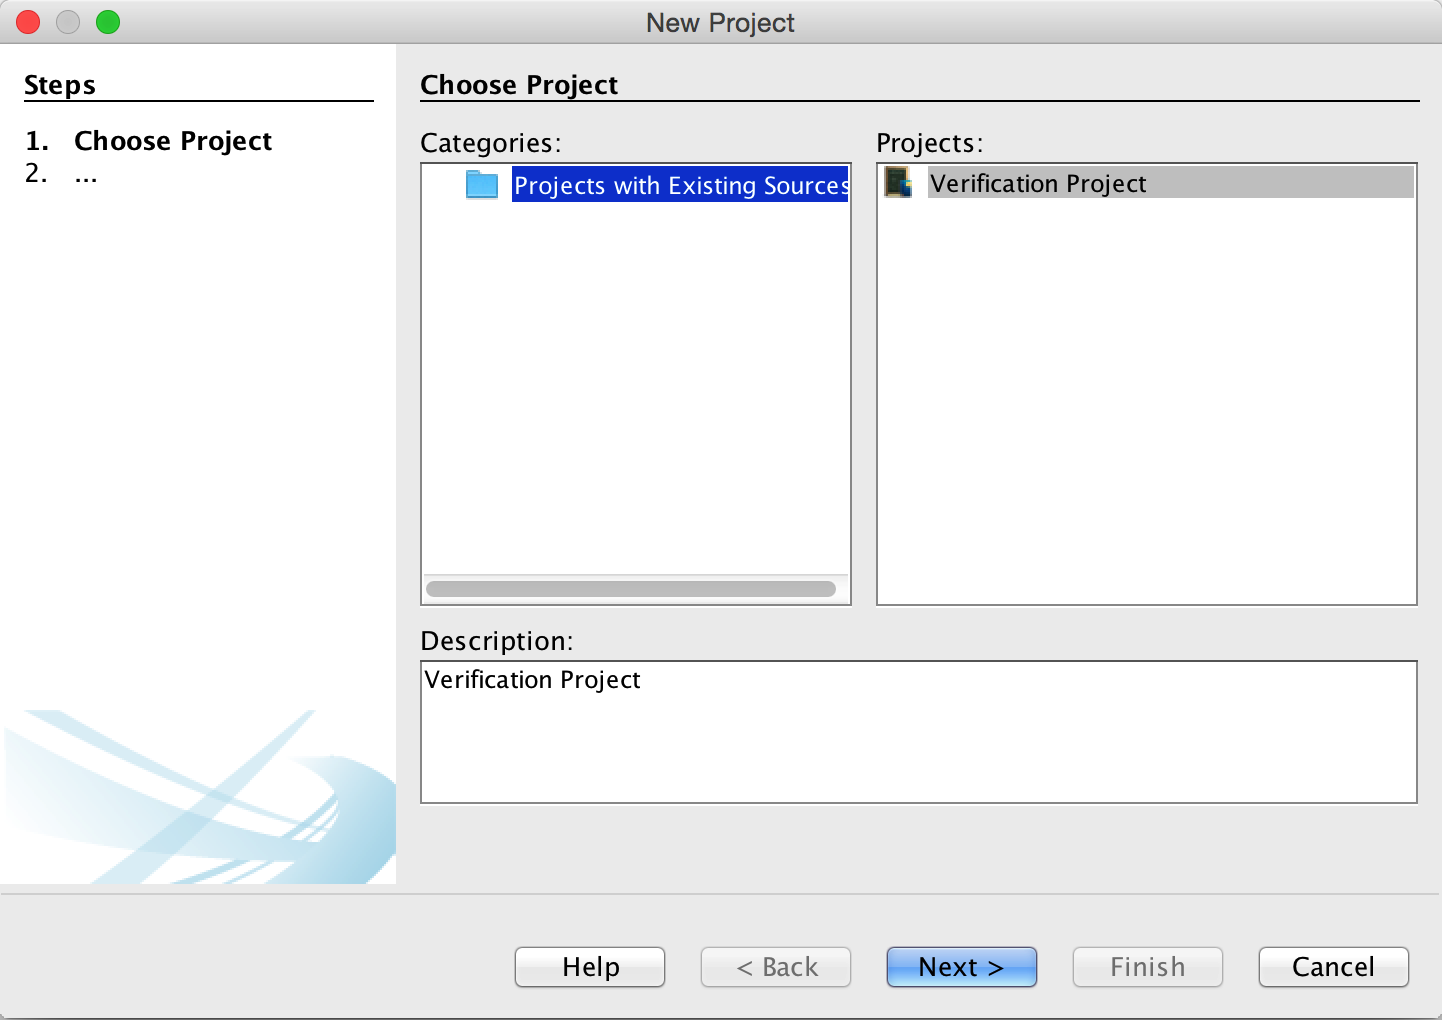
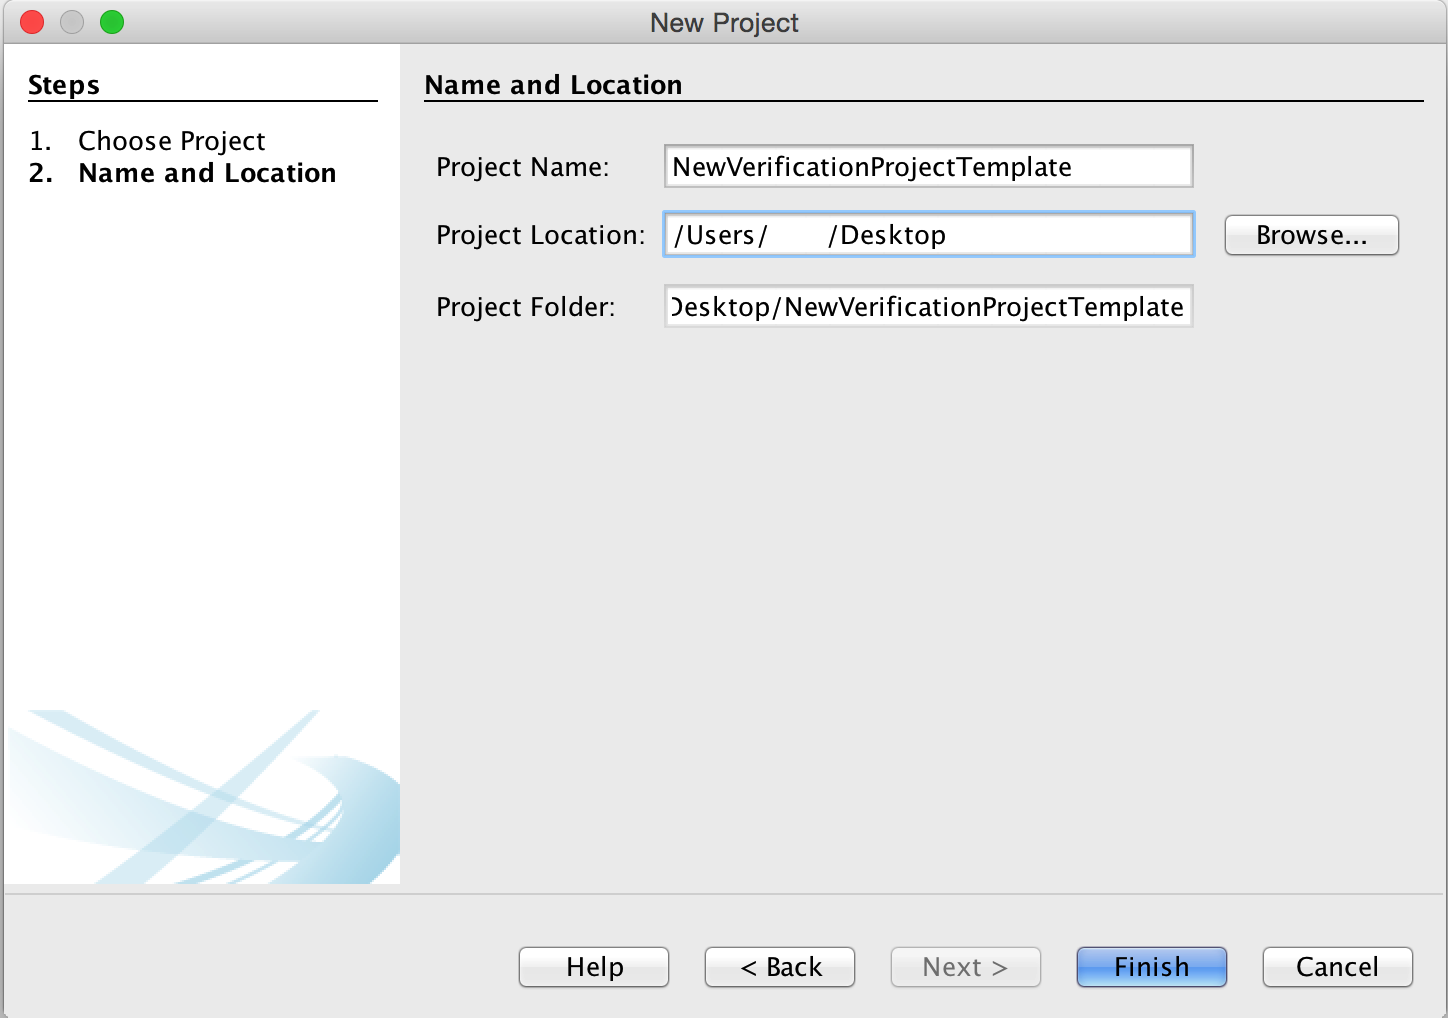
Assign a name and location to the project, then click Finish. This will create a project folder that contains an empty project.config configuration file.
Creating a New Rules File
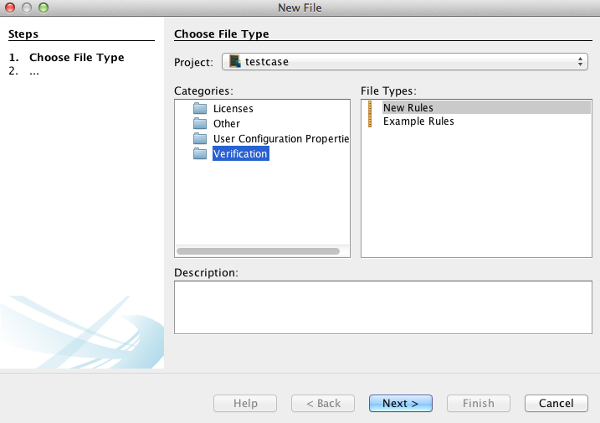
To create a new rules file, click on the new file icon and select New Rules from the Verification category. Select a location to save it to and select Next.
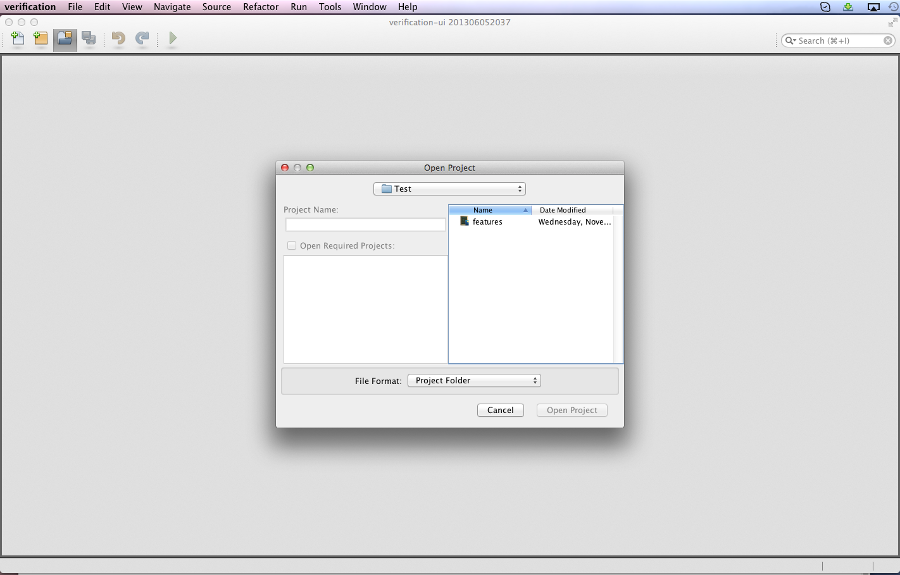
Opening an Existing Project
To open an existing project, click on the open project icon or select it from the File menu. Select the project and click Open Project.
Close A Project
To close a project, click on the close project icon or select Close Project from the File menu. This will remove all of the project's files from the project window.
Add a Test Case to an Existing Project
To add a test case to an existing project, select that project's folder from the project window, then select the add test case icon or Add test case... from the File menu.
Next, assign a name to the test case by typing it in or selecting it from of the list of unused test case names. This second option is available when the project includes a test cases set specified in an Excel file:
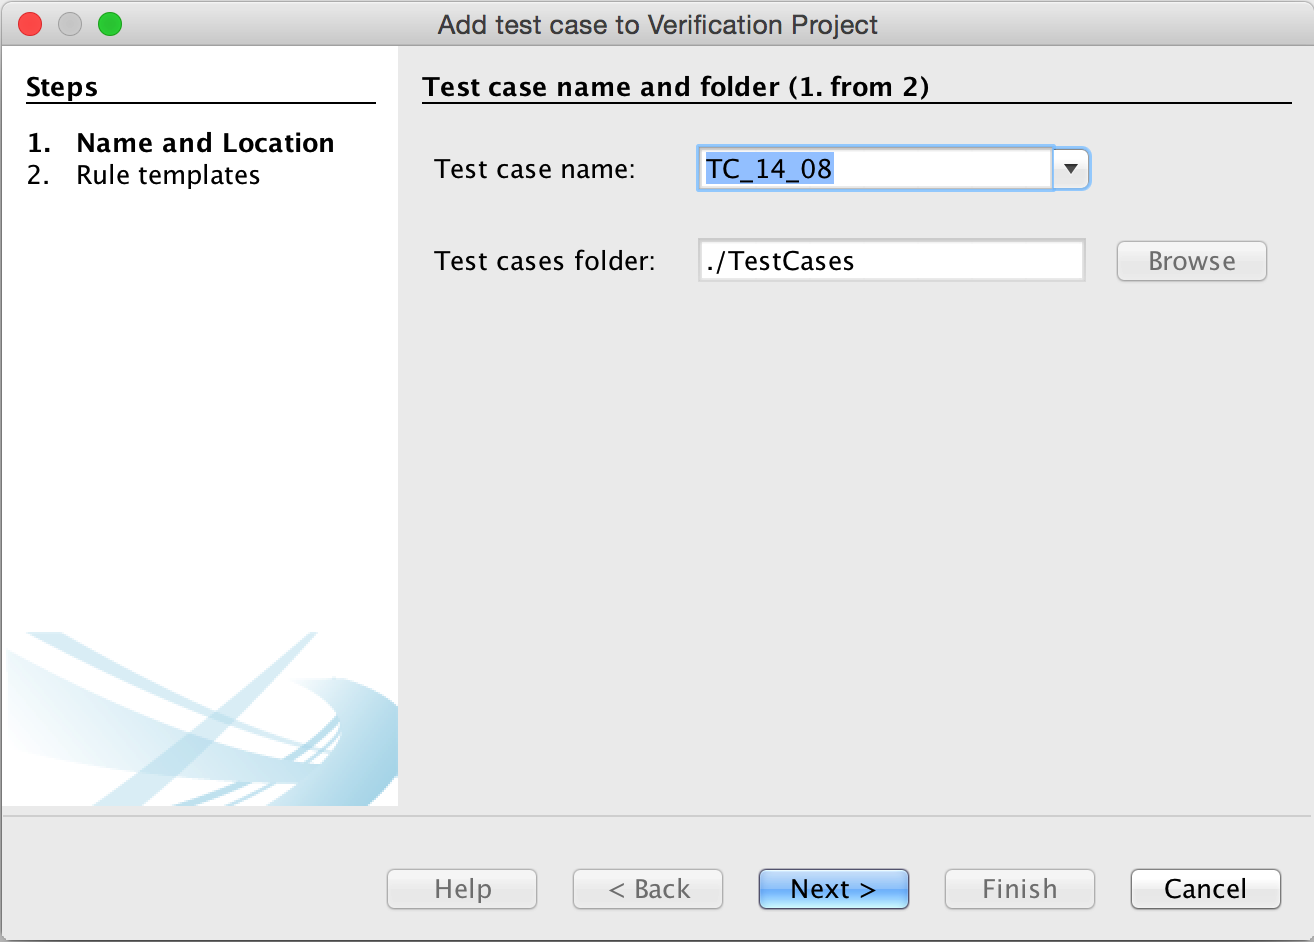
If the project has a test case rules root folder configured, the test case will be saved there. If the project configuration includes a templates folder, then the option to select one or more templates will also be provided:
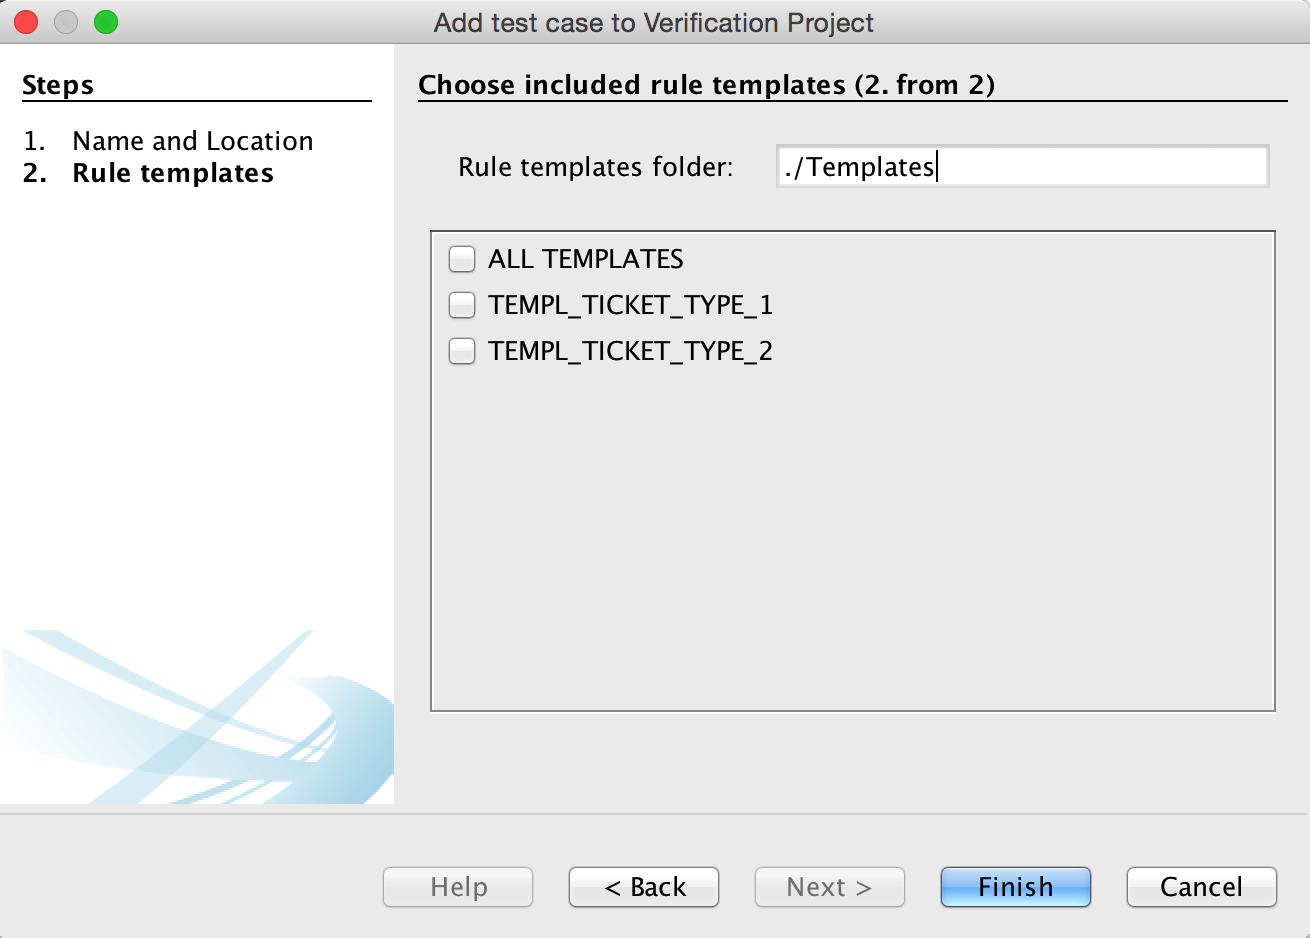
After adding the test case, the project.config will be updated with an entry for the new test case, and all rules files within the folder will be associated with the test case. Additionally, a new folder will be created with the selected test case's name.
If using templates, two additional files will be generated:
-
variables.rules - Contains the rules templates' variable definitions.
-
includes.rules - Contains
includestatements invoking any rules files that should be included.
Running Test Cases from the Verifier UI
Running test cases via the Verifier UI is somewhat different than running them via intaQt Studio.
First, open the project and then the file. There are different icons for regular folders and project folders, which can be opened by the Verifier UI.
Note: The Excel list from which you want to run your tests has to be in a superordinate folder to the one from where your test case is.
For example, if your folders are: .xlsases → Tests → testcase.feature, and you want to run testcase.feature, the Excel list has to be in the Tests folder.
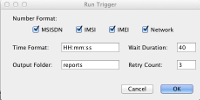
When you run a test case, the Trigger window below will open up.
When you run a test case, this window, called the Trigger, will pop up.

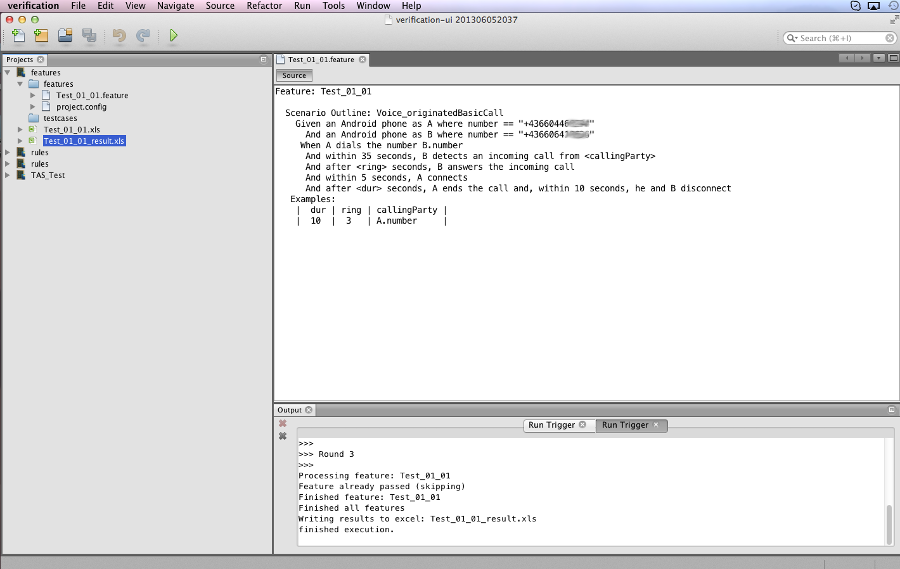
The boxes you can tick here (MSISDN, IMSI, IMEI, Network) indicate the information you want to get about the used phones. You can tick None, One, More, or All of the boxes seen in the small window. Also, depending on which boxes you have (or have not) ticked, you will get the relevant information in your Results sheet in Excel. Time Format is the format you prefer for displaying the date entries in your Excel sheet. Output Folder refers to the folder where your reports will be saved. Wait Duration is the period of time (in seconds) until a new Run is started. Retry Count refers to how many times the test cases should be repeated if they fail. As with intaQt Studio, the Output window pops up as soon as you run your test case. However, the output will not provide you with information as detailed as in intaQt Studio. It informs you which round it is at (if you have scheduled more runs) and which test case is running.
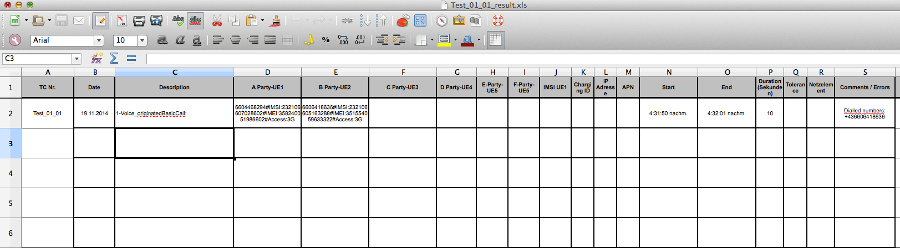
When the run is finished, another Excel list will appear in the projects window with _result.xls at the end of the file name.
The Results Excel list will show you detailed information about the test case. Depending on which of the boxes you have previously ticked, the system will fill the corresponding fields with information.
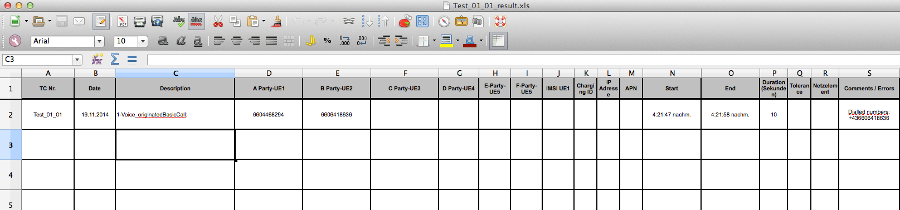
If all boxes have been ticked, the Results Excel file will show more detailed information about the test case that has been run.