Test Suite Verification
Test suite verification allows a user to review test suite executions and indicate that they are available for Approval by a test manager or administrator.
Verification conditions are described in project-specific documentation.
Select Test Suite
Open the test run report for the test suite execution that will be verified. There are two ways to do this:
-
Click on the
Reportstab, which will bring up the Test Run Report View. Next, select the required test name.- The Test Run Report tab shows reports for all project members, including bots.
-
Alternately, click on the
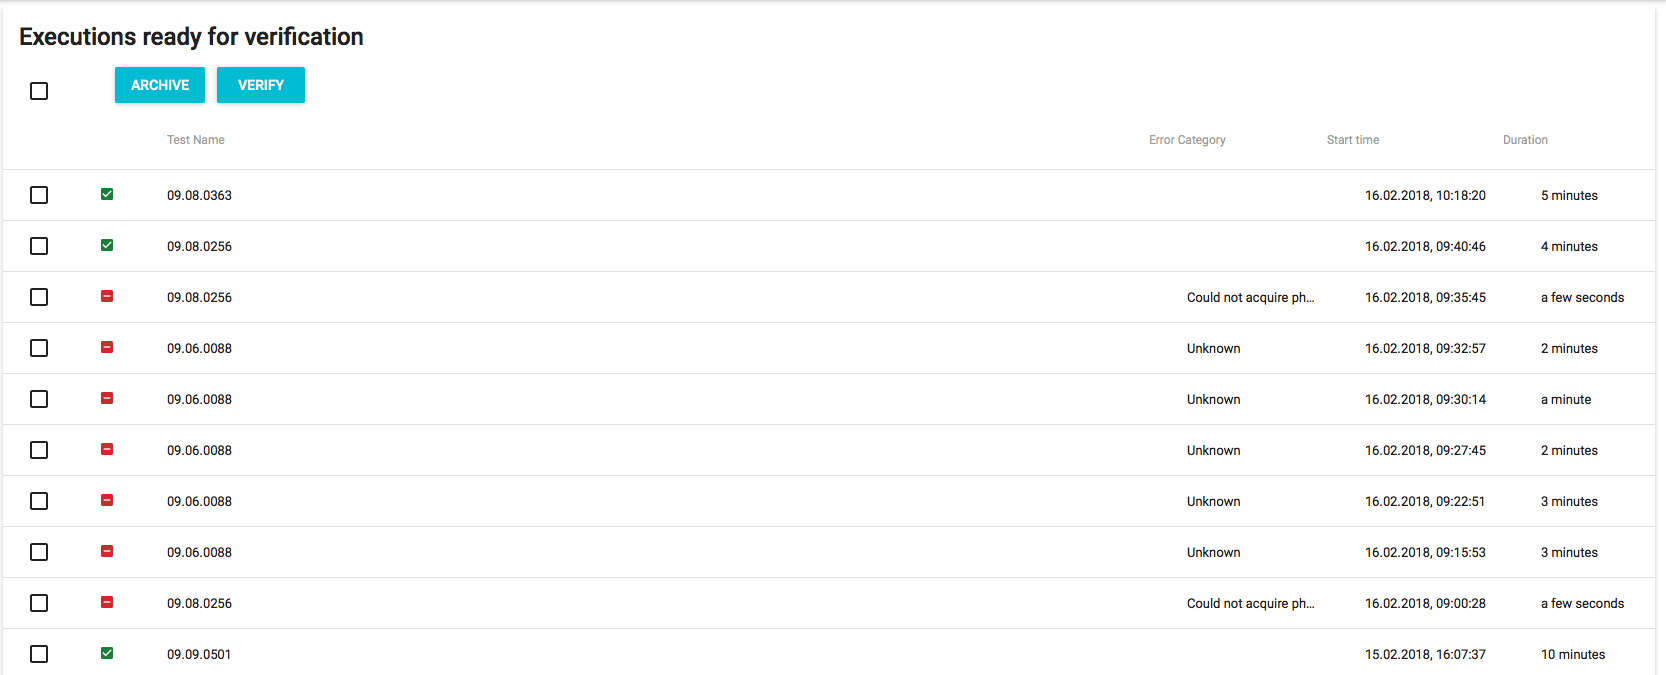
Verificationtab from the Dashboard. This provides the user with a list of their unverified test suite executions:

Verify or Archive the Test Suite Execution
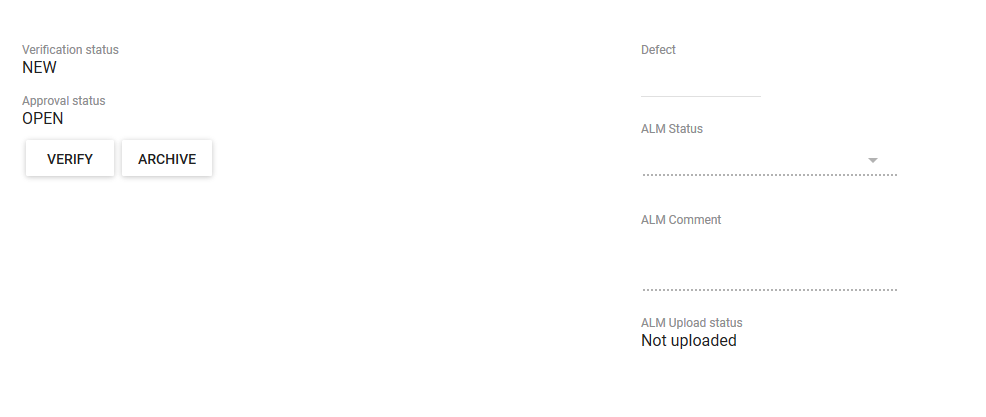
After selecting the test suite execution, select either the Verify button or the Archive button. The following optional fields may also be set:
-
Defect - Enter
defect ID. This will place abug iconnext to the test case name. -
ALM Status - Enter if a different ALM Status should be set.
-
ALM Comment - Enter a comment that will be uploaded with the test report to the project management system.

Verify the Test Suite Execution
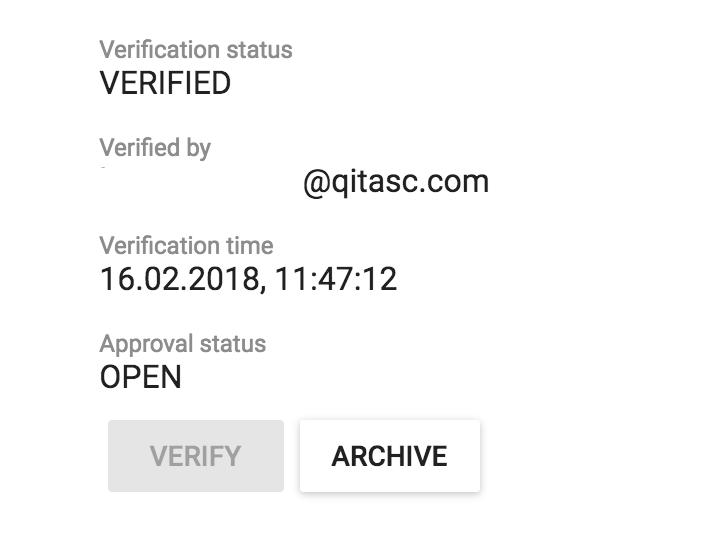
If the test suite execution conforms to project verification guidelines, click Verify button. A username and verification timestamp will appear above the button, which will now appear greyed out. The report will also no longer be in the Verification tab and will instead appear in the Ready for Approval.

Archive the Test Suite Execution
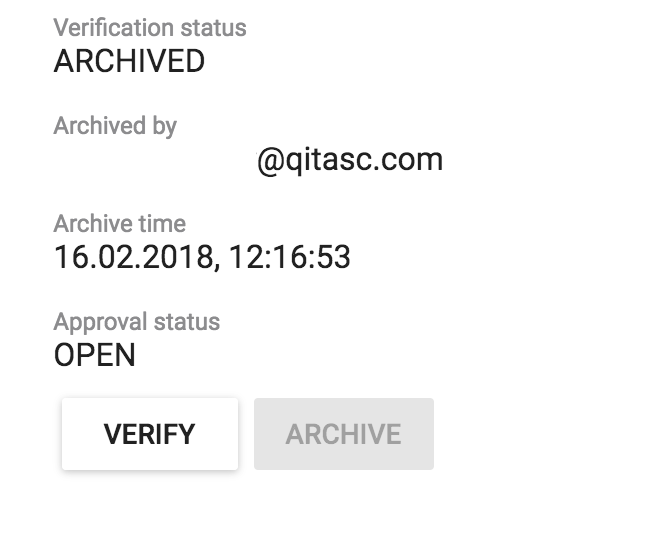
Test suite execution reports that do not require further action from a test manager may instead be archived by clicking on the Archive button. The reports can still be accessed from the Test Run Report tab, they will not appear under Executions ready for verification. A username and archive timestamp will appear above the button, which will now appear greyed out.
