Configure Appium to Recognize the App
1. Starting Appium
Addressing an app's UI element is crucial to Apptest. If this is your first time using Appium, the application may take some time to load.
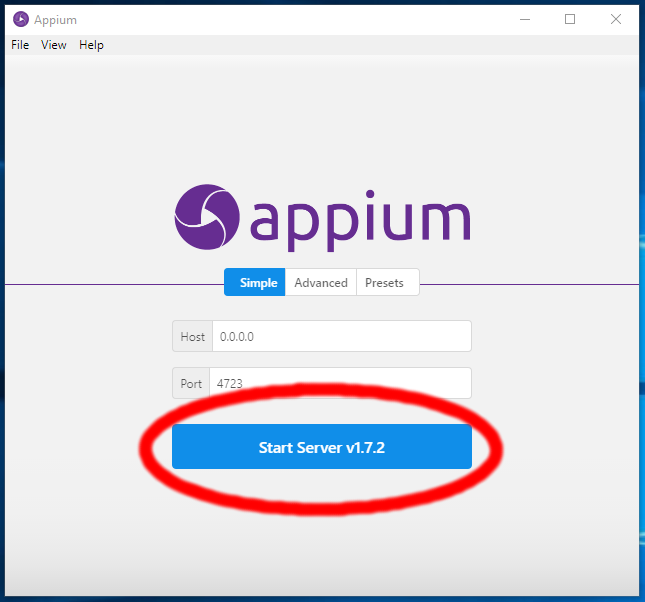
Click the Start Server button, once the window below appears:
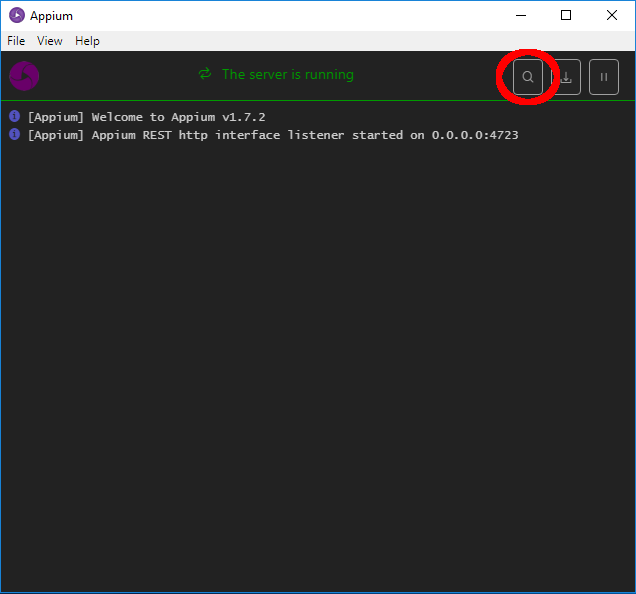
Click the magnifying glass in the upper right corner of the top bar to start your session:
| Note |
|---|
| The window is for configuring your phone and the Selendroid app for the Appium Session. |
2. Adding Configurations to Appium
Click on the + button to add each new field:
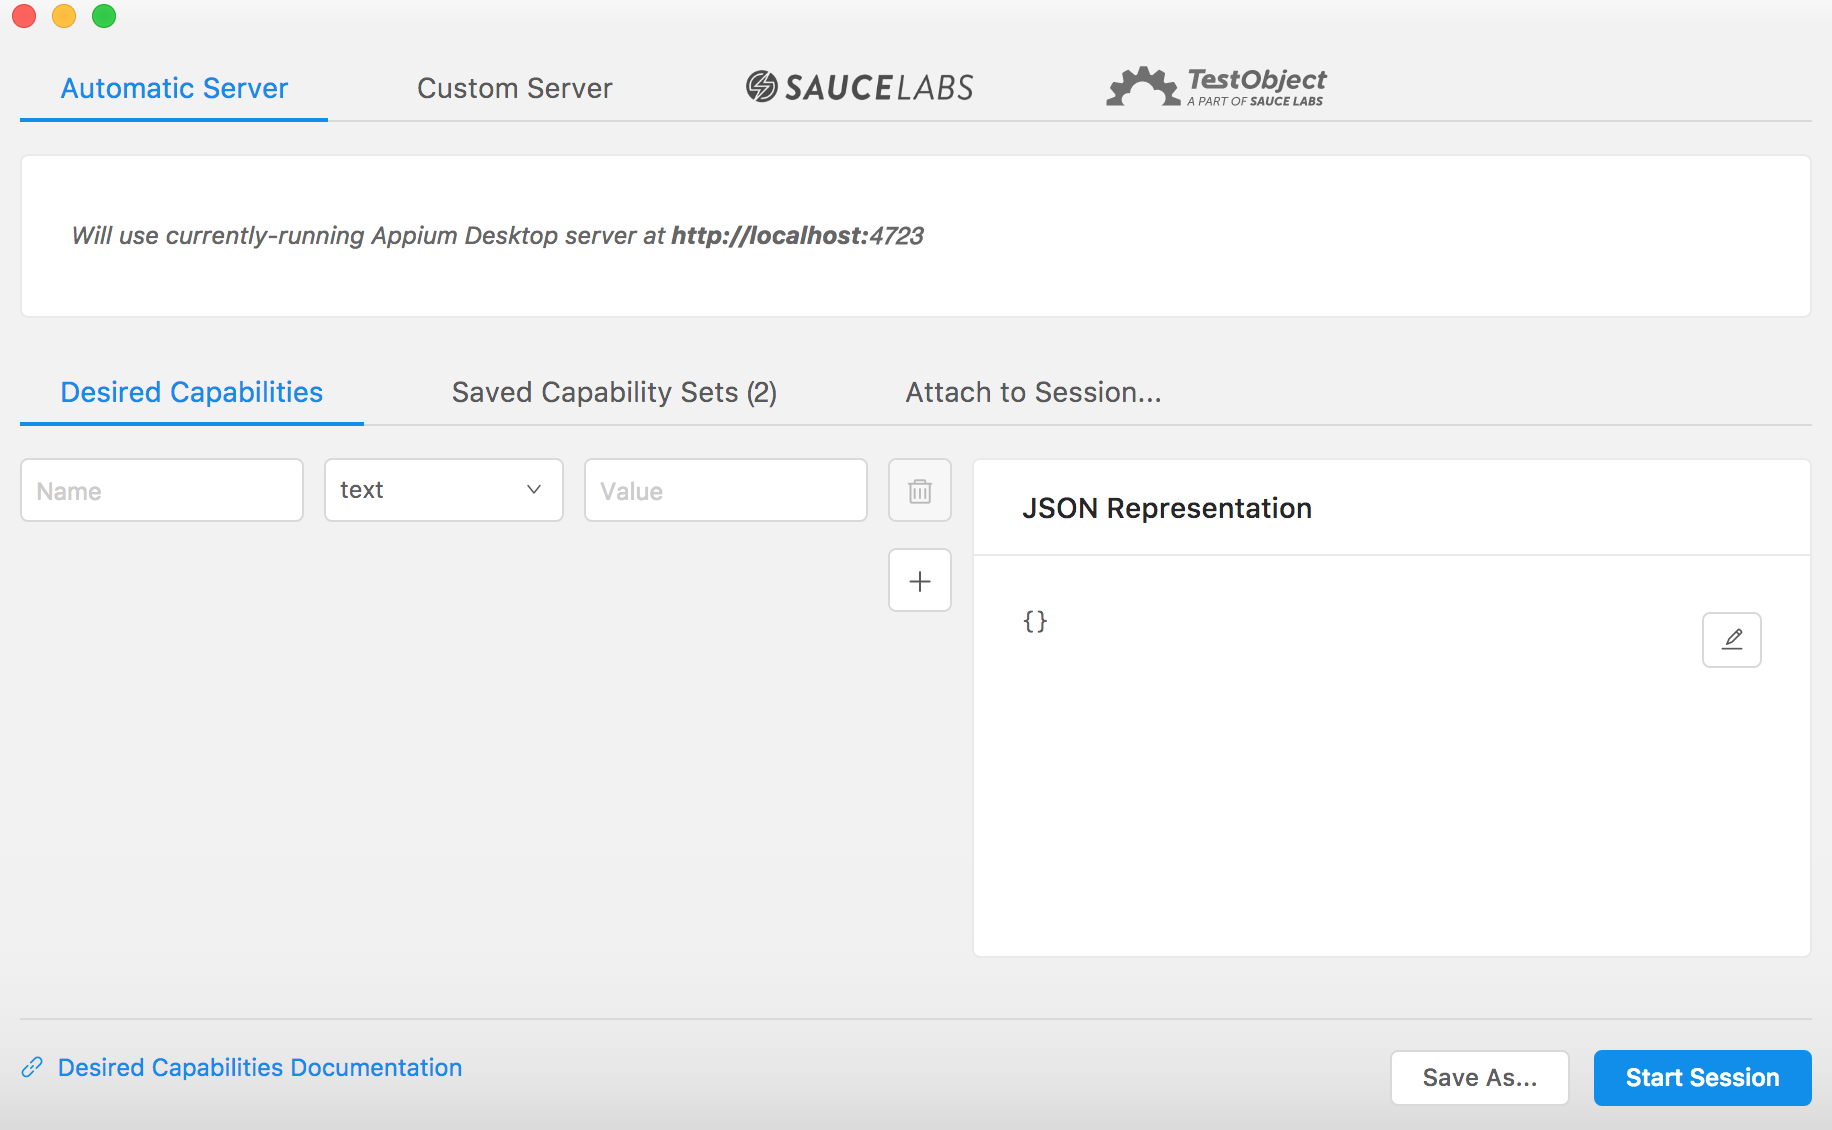
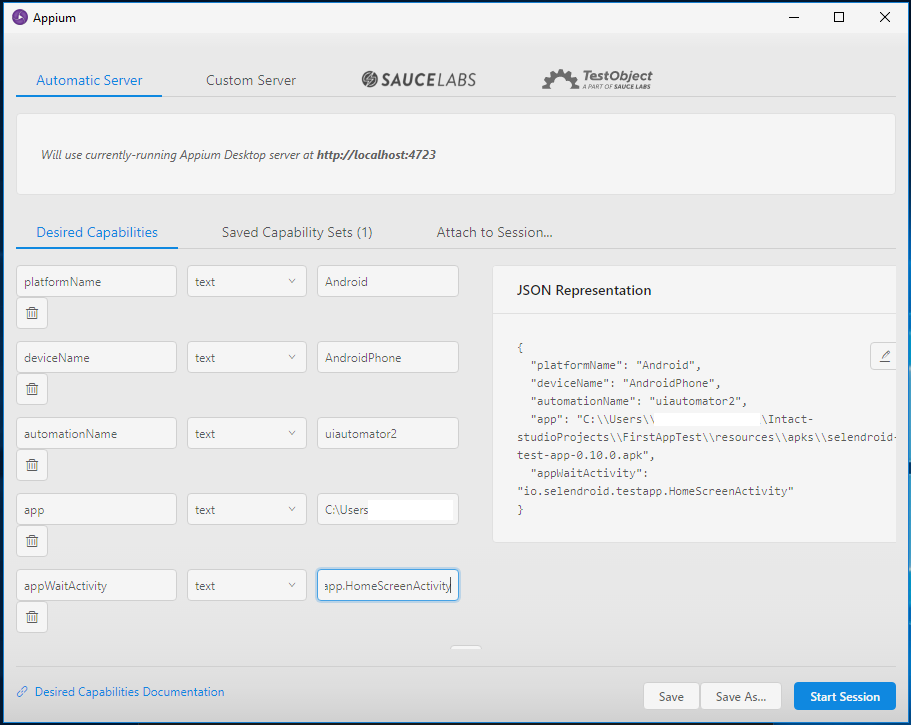
Add the following configurations:
| Name | Value |
|---|---|
| platformName | Android |
| deviceName | AndroidPhone |
| automationName | uiautomator2 |
| app | <APK filepath> (see below) |
| appWaitActivity | <foreground activity after startup (see below>) |
3. Finding Values
Find the app value:
-
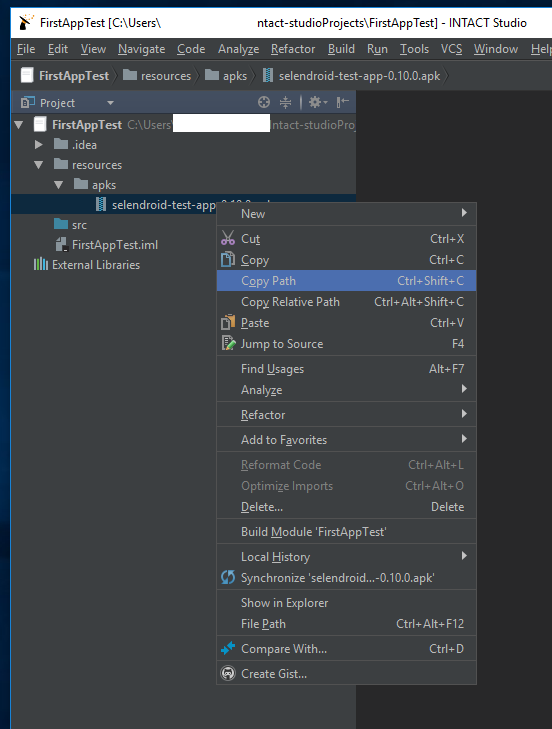
Return to intaQt Studio and right-click the APK file that you previously imported into the
resources/apksfolder. -
Select
Copy Path. -
Paste the path into the
appvalue field.
Find the appWaitActivity value:
-
Start the Selendroid Test app.
-
Open up the command line and run the following:
1
adb shell dumpsys window
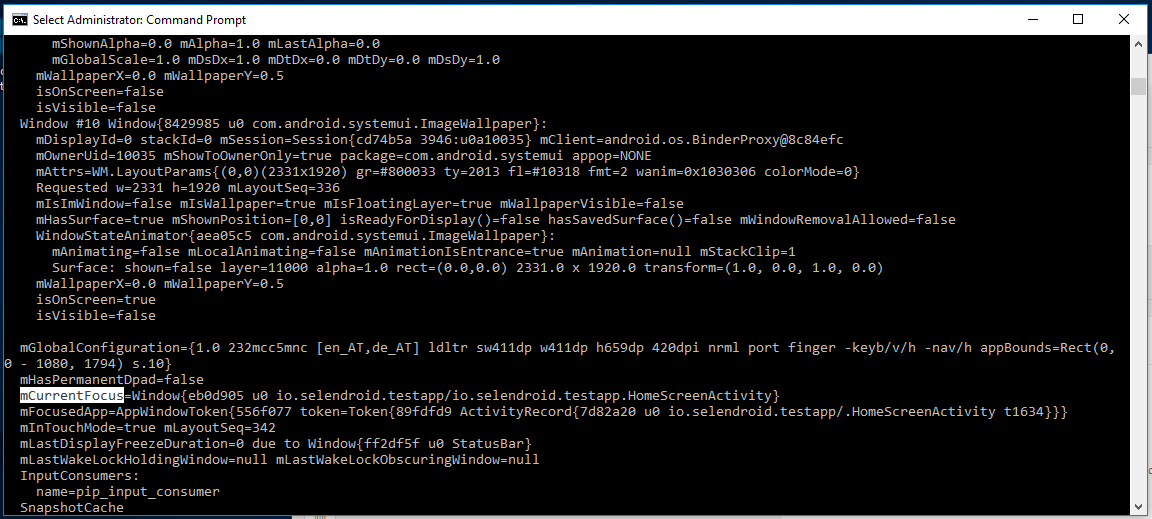
Find mCurrentFocus using the search function from the command line:
Run the following command:
1 | mCurrentFocus=Window{eb0d905 u0 io.selendroid.testapp/io.selendroid.testapp.HomeScreenActivity} |
1 | io.selendroid.testapp.HomeScreenActivity |
Return to Appium and paste the string into the appWaitActivity value field. When you are finished, your Appium configuration window should look like this:
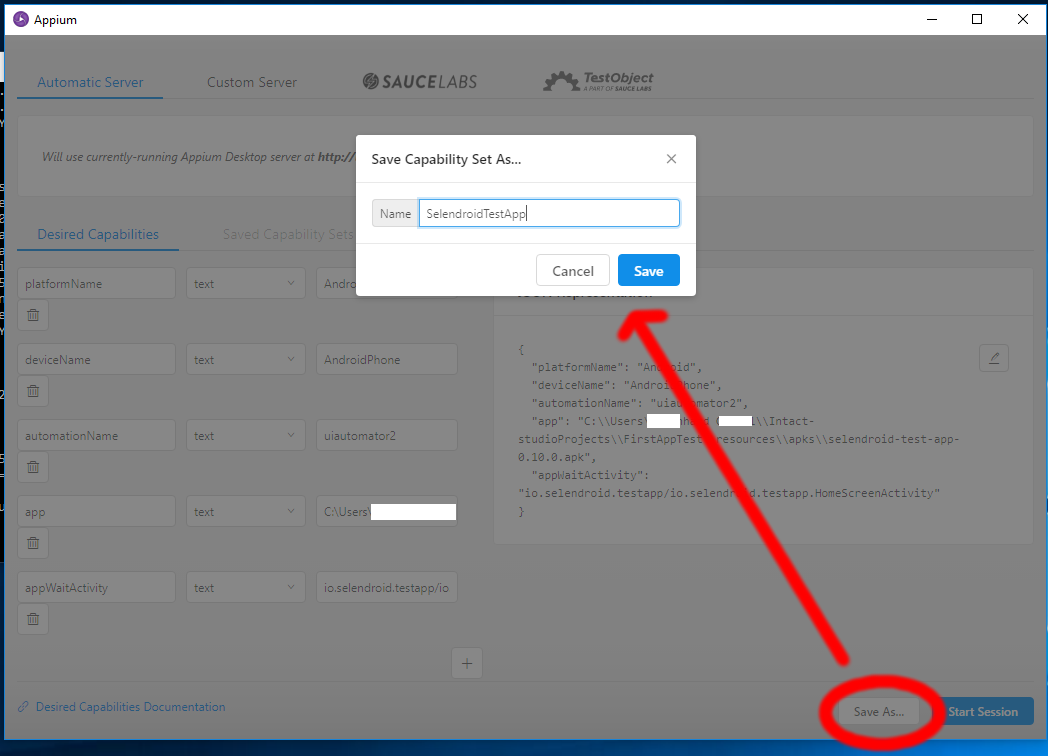
Save the configuration so that you can use it later:
Click the Start Session button:
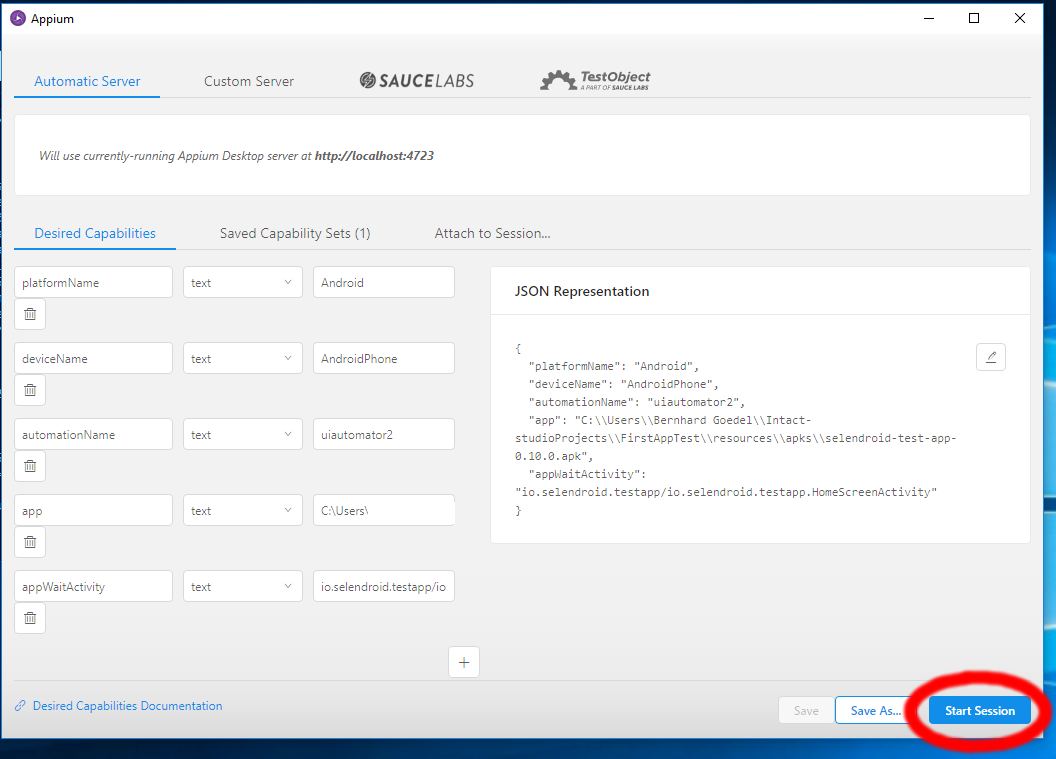
If you encounter an error, such as an incorrect path or name, a message will pop up on the configuration page. The Server log window, in the background window, will contain more details.
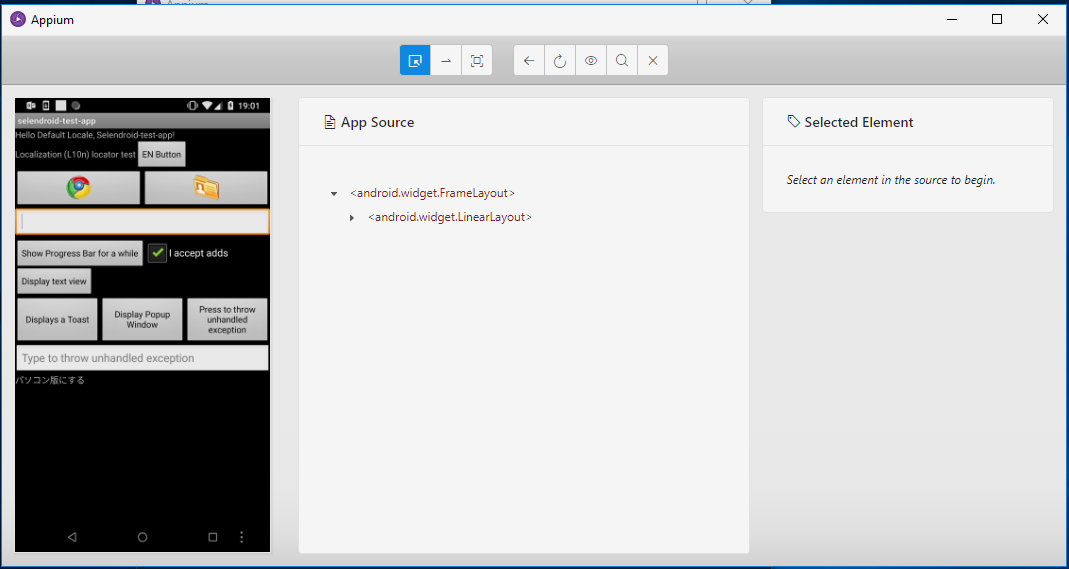
Once the session has fully started, a window showing the Selendroid Test App will appear:
Conclusion
This section has shown you how to configure the Appium Desktop app. Next we will use Appium Desktop to find the XPaths that we need to build our intaQt Studio test case.